

How to add a hinge to an acrylic table tent?
Oct 09, 2026
Leave a message
Adding a hinge to an acrylic table tent can significantly enhance its functionality and versatility. As a supplier of acrylic table tents, I understand the importance of providing useful guidance to our customers. In this blog, I'll walk you through the process of adding a hinge to an acrylic table tent, offering practical tips and insights along the way.
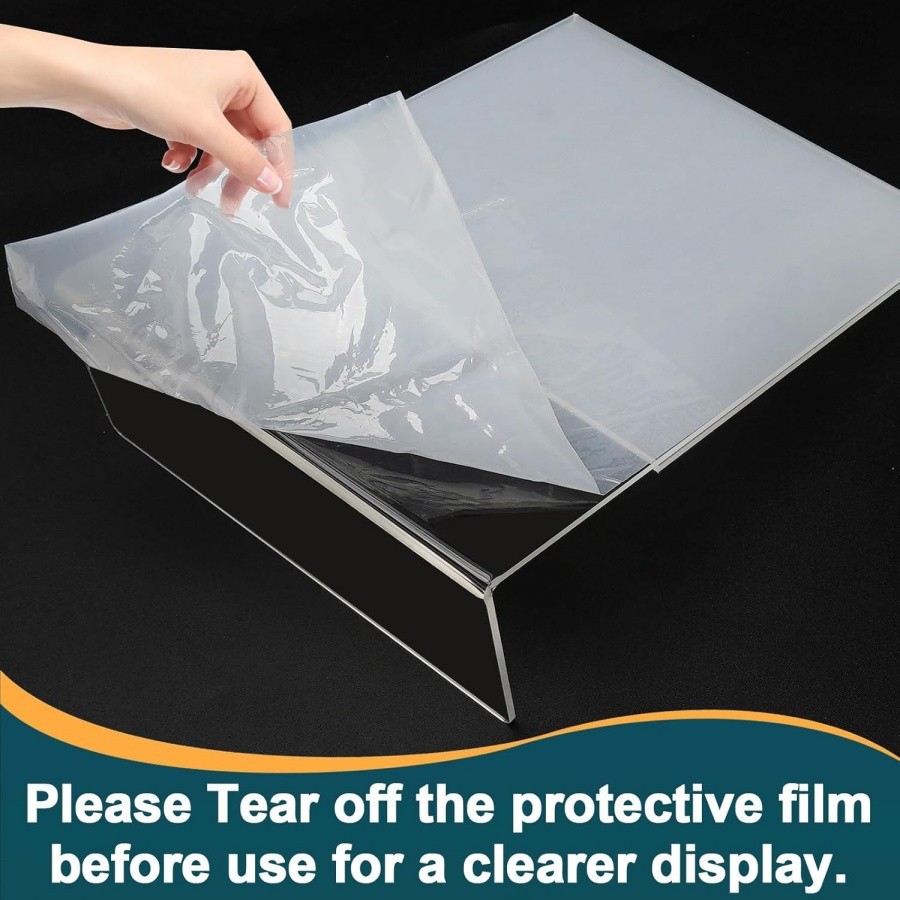

Understanding the Basics of Acrylic Table Tents
Acrylic table tents are popular for their modern and sleek appearance. They are commonly used in various settings, such as restaurants, trade shows, and retail stores, to display important information like menus, promotions, or product details. Our company offers a wide range of acrylic table tents, including the T Shape Acrylic Sign Holder, L Shaped Acrylic Tag Holder, and T - Shape Beech Acrylic Table Card. These products are made from high - quality acrylic, which is durable, transparent, and easy to clean.
Why Add a Hinge to an Acrylic Table Tent?
There are several reasons why you might want to add a hinge to your acrylic table tent. Firstly, a hinge allows the table tent to fold, making it more portable and easier to store. This is especially useful for businesses that need to transport their table tents to different locations. Secondly, a hinged table tent can be adjusted to different angles, providing better visibility from various perspectives. This can increase the effectiveness of the information displayed on the table tent.
Materials and Tools You'll Need
Before you start adding a hinge to your acrylic table tent, you'll need to gather the following materials and tools:
- Acrylic table tent: Choose the appropriate table tent based on your needs. You can select from our diverse range of products we mentioned above.
- Hinge: There are different types of hinges available, such as butt hinges, piano hinges, and continuous hinges. For an acrylic table tent, a small, lightweight hinge is usually the best choice. Make sure the hinge is made of a material that is compatible with acrylic, such as stainless steel or plastic.
- Drill: A drill is required to make holes for the hinge. You'll need a drill bit that is the appropriate size for the hinge screws.
- Screwdriver: You'll need a screwdriver to install the hinge screws.
- Measuring tape: To ensure accurate placement of the hinge, a measuring tape is essential.
- Masking tape: Masking tape can be used to mark the position of the hinge on the acrylic table tent.
Step - by - Step Guide to Adding a Hinge
Step 1: Measure and Mark
- Use a measuring tape to determine the appropriate position for the hinge on the acrylic table tent. The hinge should be placed in a location that allows the table tent to fold smoothly.
- Mark the position of the hinge on the acrylic using masking tape. Make sure the marks are straight and evenly spaced.
Step 2: Drill Holes
- Attach the appropriate drill bit to the drill.
- Carefully drill holes at the marked positions on the acrylic table tent. Be sure to drill slowly and steadily to avoid cracking the acrylic.
- The depth of the holes should be slightly deeper than the length of the hinge screws.
Step 3: Prepare the Hinge
- If the hinge has any protective coating or packaging, remove it.
- Align the hinge with the holes on the acrylic table tent. Make sure the hinge is positioned correctly and that the holes on the hinge match the holes on the table tent.
Step 4: Install the Hinge
- Insert the hinge screws into the holes on the acrylic table tent and the hinge.
- Use a screwdriver to tighten the screws. Be careful not to overtighten the screws, as this can cause the acrylic to crack.
Step 5: Test the Hinge
- Once the hinge is installed, test the folding mechanism of the acrylic table tent. Open and close the table tent several times to ensure that the hinge works smoothly.
- If the hinge is not working properly, check the alignment of the hinge and the tightness of the screws. Make any necessary adjustments.
Tips for a Successful Hinge Installation
- Choose the right hinge: As mentioned earlier, select a hinge that is lightweight and compatible with acrylic. Consider the size and weight of the table tent when choosing a hinge.
- Work in a clean environment: Acrylic is prone to scratches, so it's important to work in a clean environment to avoid damaging the table tent.
- Use the right drill bit: Using the wrong drill bit can cause the acrylic to crack. Make sure the drill bit is the appropriate size for the hinge screws.
- Take your time: Drilling holes in acrylic requires patience. Take your time to ensure that the holes are drilled accurately and that the hinge is installed correctly.
Maintaining Your Hinged Acrylic Table Tent
After adding a hinge to your acrylic table tent, it's important to maintain it properly to ensure its longevity. Here are some maintenance tips:
- Clean regularly: Use a soft, damp cloth to clean the acrylic table tent. Avoid using abrasive cleaners, as they can scratch the acrylic.
- Lubricate the hinge: Periodically lubricate the hinge with a small amount of lubricant to keep it working smoothly.
- Store properly: When not in use, store the hinged acrylic table tent in a dry, cool place. Make sure it is folded properly to avoid any damage to the hinge or the acrylic.
Conclusion
Adding a hinge to an acrylic table tent is a relatively simple process that can greatly enhance its functionality. By following the steps outlined in this blog, you can easily add a hinge to your acrylic table tent and enjoy the benefits of a portable and adjustable display. If you're interested in purchasing acrylic table tents or have any questions about hinge installation, feel free to contact us for more information. We're here to help you find the best solutions for your display needs.
References
- "Acrylic Materials and Their Applications" - A handbook on acrylic products and their uses.
- "Hinge Installation Guide" - A guidebook that provides detailed instructions on installing different types of hinges.